Following on from yesterday's sprouting lesson, today we'll look at microgreens. If you watch programmes like MasterChef you'll have seen them already - they're the lovely little colourful bits that get 'draped' over top dishes to give them the 'wow factor'.
Here's an example of microgreens used on a home grown salad (more on that later!)
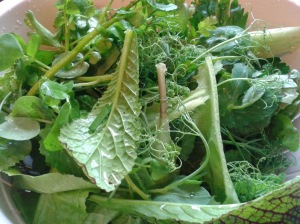
- The salad before adding microgreens
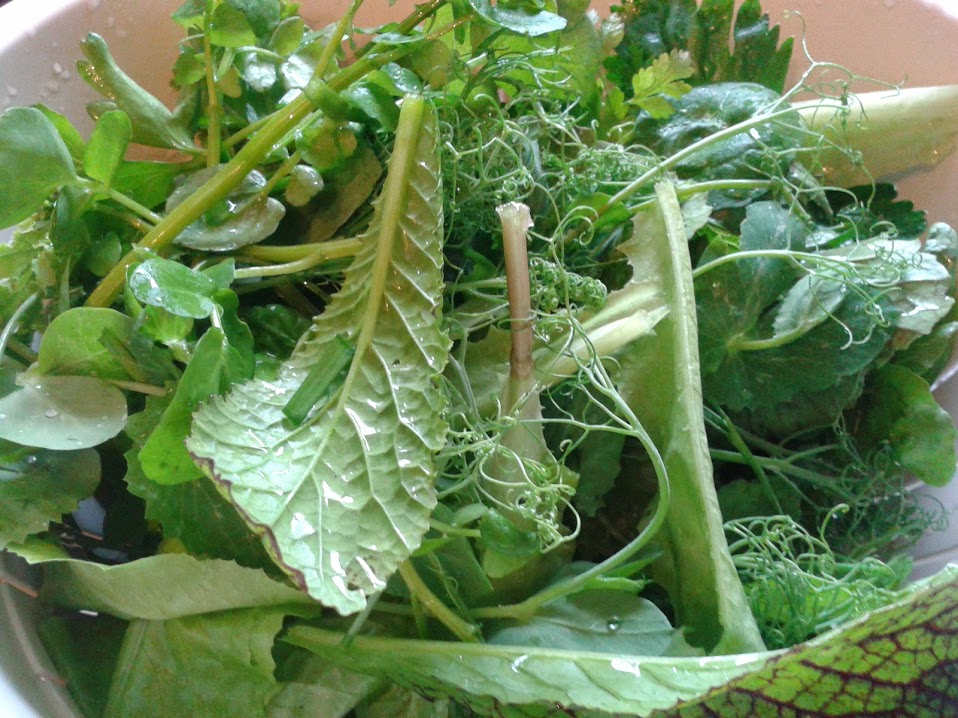

- The same salad after adding microgreens

You can see instantly the wow factor in action! However there is much, MUCH more to microgreens that prettying up a plate of food. They are oh so good for you!
So what exactly is a microgreen?
You start with a sprout and you grow it to the next level of its development - you let it grow leaves :-) The leaves contain chlorophyll - liquid sunshine! We all know how good wheatgrass is for us - well part of the reason for that is the chlorophyll.
Some of the best microgreens are; sunflower, beets, radish, broccoli, watercress, cress, rocket, spinach, lettuce, herbs i.e. basil, coriander (cilantro), kale, cabbage (red looks fantastic) carrot tops (you can buy seeds especially for this here; http://www.nickys-nursery.co.uk/garden-shop/seeds/micro-greens/ ) I always grow my alfalfa and clover to micro stage - much better for you and far tastier! Pea shoots are a great example of micros too. They taste like the peas - so why wait? Micros are easier to grow too! Quinoa and Amaranth are great micros too and amaranth comes in a stunning red.
Beans and lentils work as sprouts but they tend to get bitter as they green up so I don't bother.
The biggest tip I can give you is buy organic. Heavens only knows what treated seeds have on them - I never use anything other than organic. If you were growing your carrots to full size there'd be time for any lurking chemicals to leave them but not with microgreens.
So let's look at actually growing them. I use small trays. Now here is recycling at its finest! You know the shallow trays you get mushrooms in etc from the supermarket? Store them - I use the ones that blueberries and strawberries come in too - they've already got drainage - so what's not to like? I wash them and reuse them too.
Just put about 1 cm of good quality ORGANIC compost in the tray and gently firm it down. Sprinkle your seeds on top and gently water. For tiny seeds like alfalfa I water form the bottom (stand the tray in shallow water until the top is dark and moist). For larger seeds like sunflowers I gently water from the top so the seeds are wet. A quick and easy way to do this is sprout the seeds in your jar for a day first then scatter them thinly over the compost. Keep them somewhere not too hot and shaded from sun and watch them sprout!
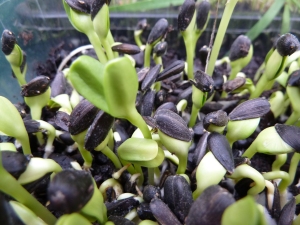
- Sunflowers greens just sprouting in organic compost

- A few days later....

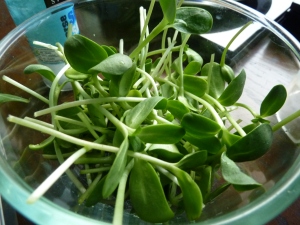
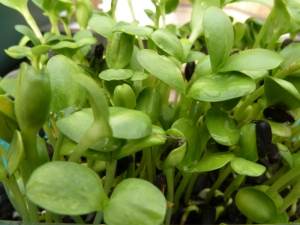
- Sunflower greens ready to eat!

No comments:
Post a Comment