Showing posts with label vitamins. Show all posts

Tuesday, 13 May 2014

Microgreens - the ultimate food!

Following on from yesterday's sprouting lesson, today we'll look at microgreens. If you watch programmes like MasterChef you'll have seen them already - they're the lovely little colourful bits that get 'draped' over top dishes to give them the 'wow factor'.
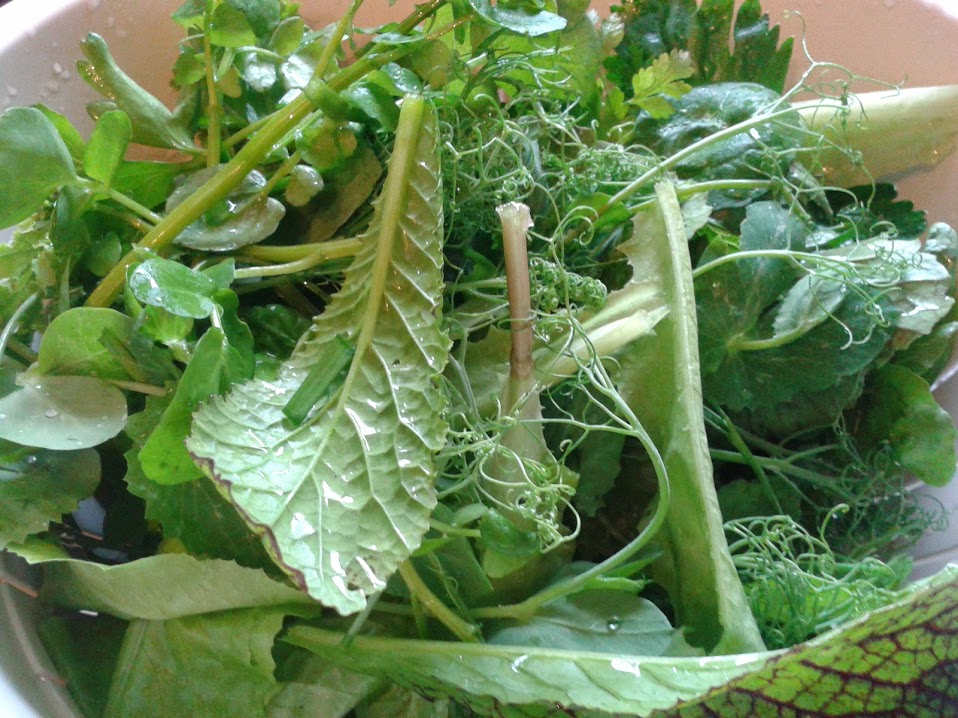
Here's an example of microgreens used on a home grown salad (more on that later!)
The salad before adding microgreens

The same salad after adding microgreens
You can see instantly the wow factor in action! However there is much, MUCH more to microgreens that prettying up a plate of food. They are oh so good for you!
So what exactly is a microgreen?
You start with a sprout and you grow it to the next level of its development - you let it grow leaves :-) The leaves contain chlorophyll - liquid sunshine! We all know how good wheatgrass is for us - well part of the reason for that is the chlorophyll.
Some of the best microgreens are; sunflower, beets, radish, broccoli, watercress, cress, rocket, spinach, lettuce, herbs i.e. basil, coriander (cilantro), kale, cabbage (red looks fantastic) carrot tops (you can buy seeds especially for this here; http://www.nickys-nursery.co.uk/garden-shop/seeds/micro-greens/  ) I always grow my alfalfa and clover to micro stage - much better for you and far tastier! Pea shoots are a great example of micros too. They taste like the peas - so why wait? Micros are easier to grow too! Quinoa and Amaranth are great micros too and amaranth comes in a stunning red.
Beans and lentils work as sprouts but they tend to get bitter as they green up so I don't bother.
The biggest tip I can give you is buy organic. Heavens only knows what treated seeds have on them - I never use anything other than organic. If you were growing your carrots to full size there'd be time for any lurking chemicals to leave them but not with microgreens.
So let's look at actually growing them. I use small trays. Now here is recycling at its finest! You know the shallow trays you get mushrooms in etc from the supermarket? Store them - I use the ones that blueberries and strawberries come in too - they've already got drainage - so what's not to like? I wash them and reuse them too.
Just put about 1 cm of good quality ORGANIC compost in the tray and gently firm it down. Sprinkle your seeds on top and gently water. For tiny seeds like alfalfa I water form the bottom (stand the tray in shallow water until the top is dark and moist). For larger seeds like sunflowers I gently water from the top so the seeds are wet. A quick and easy way to do this is sprout the seeds in your jar for a day first then scatter them thinly over the compost. Keep them somewhere not too hot and shaded from sun and watch them sprout!
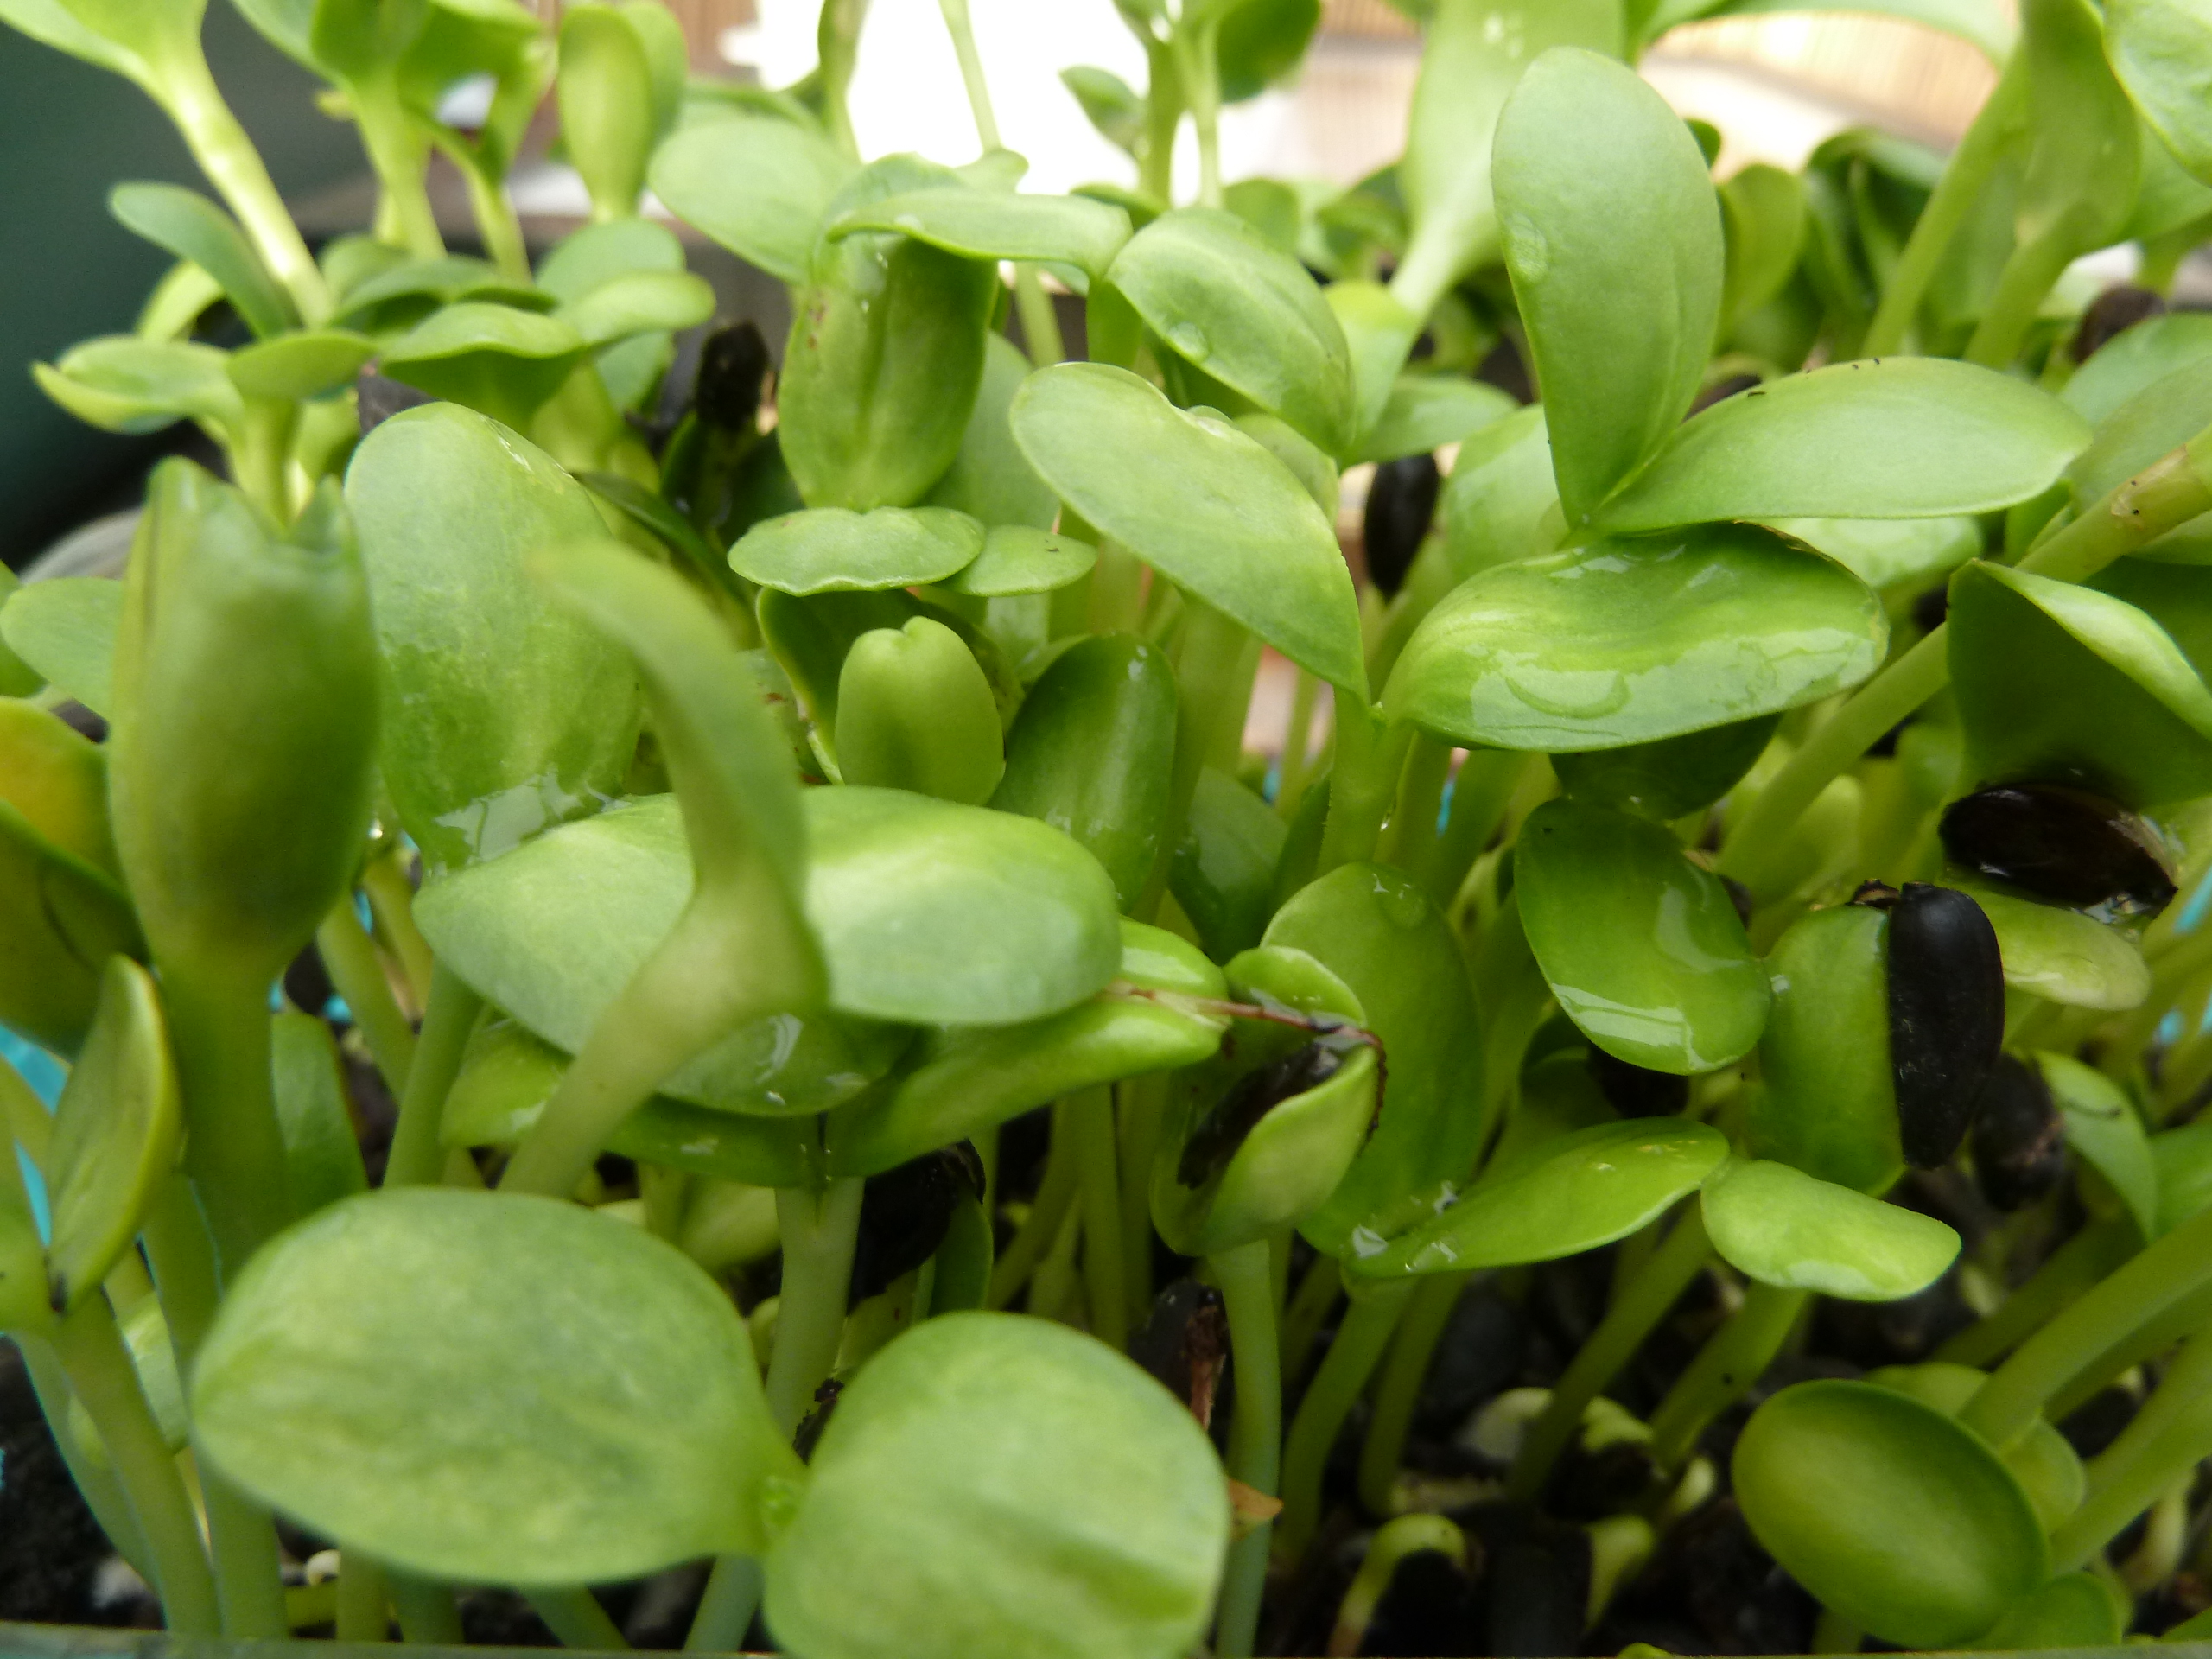
Sunflowers greens just sprouting in organic compost
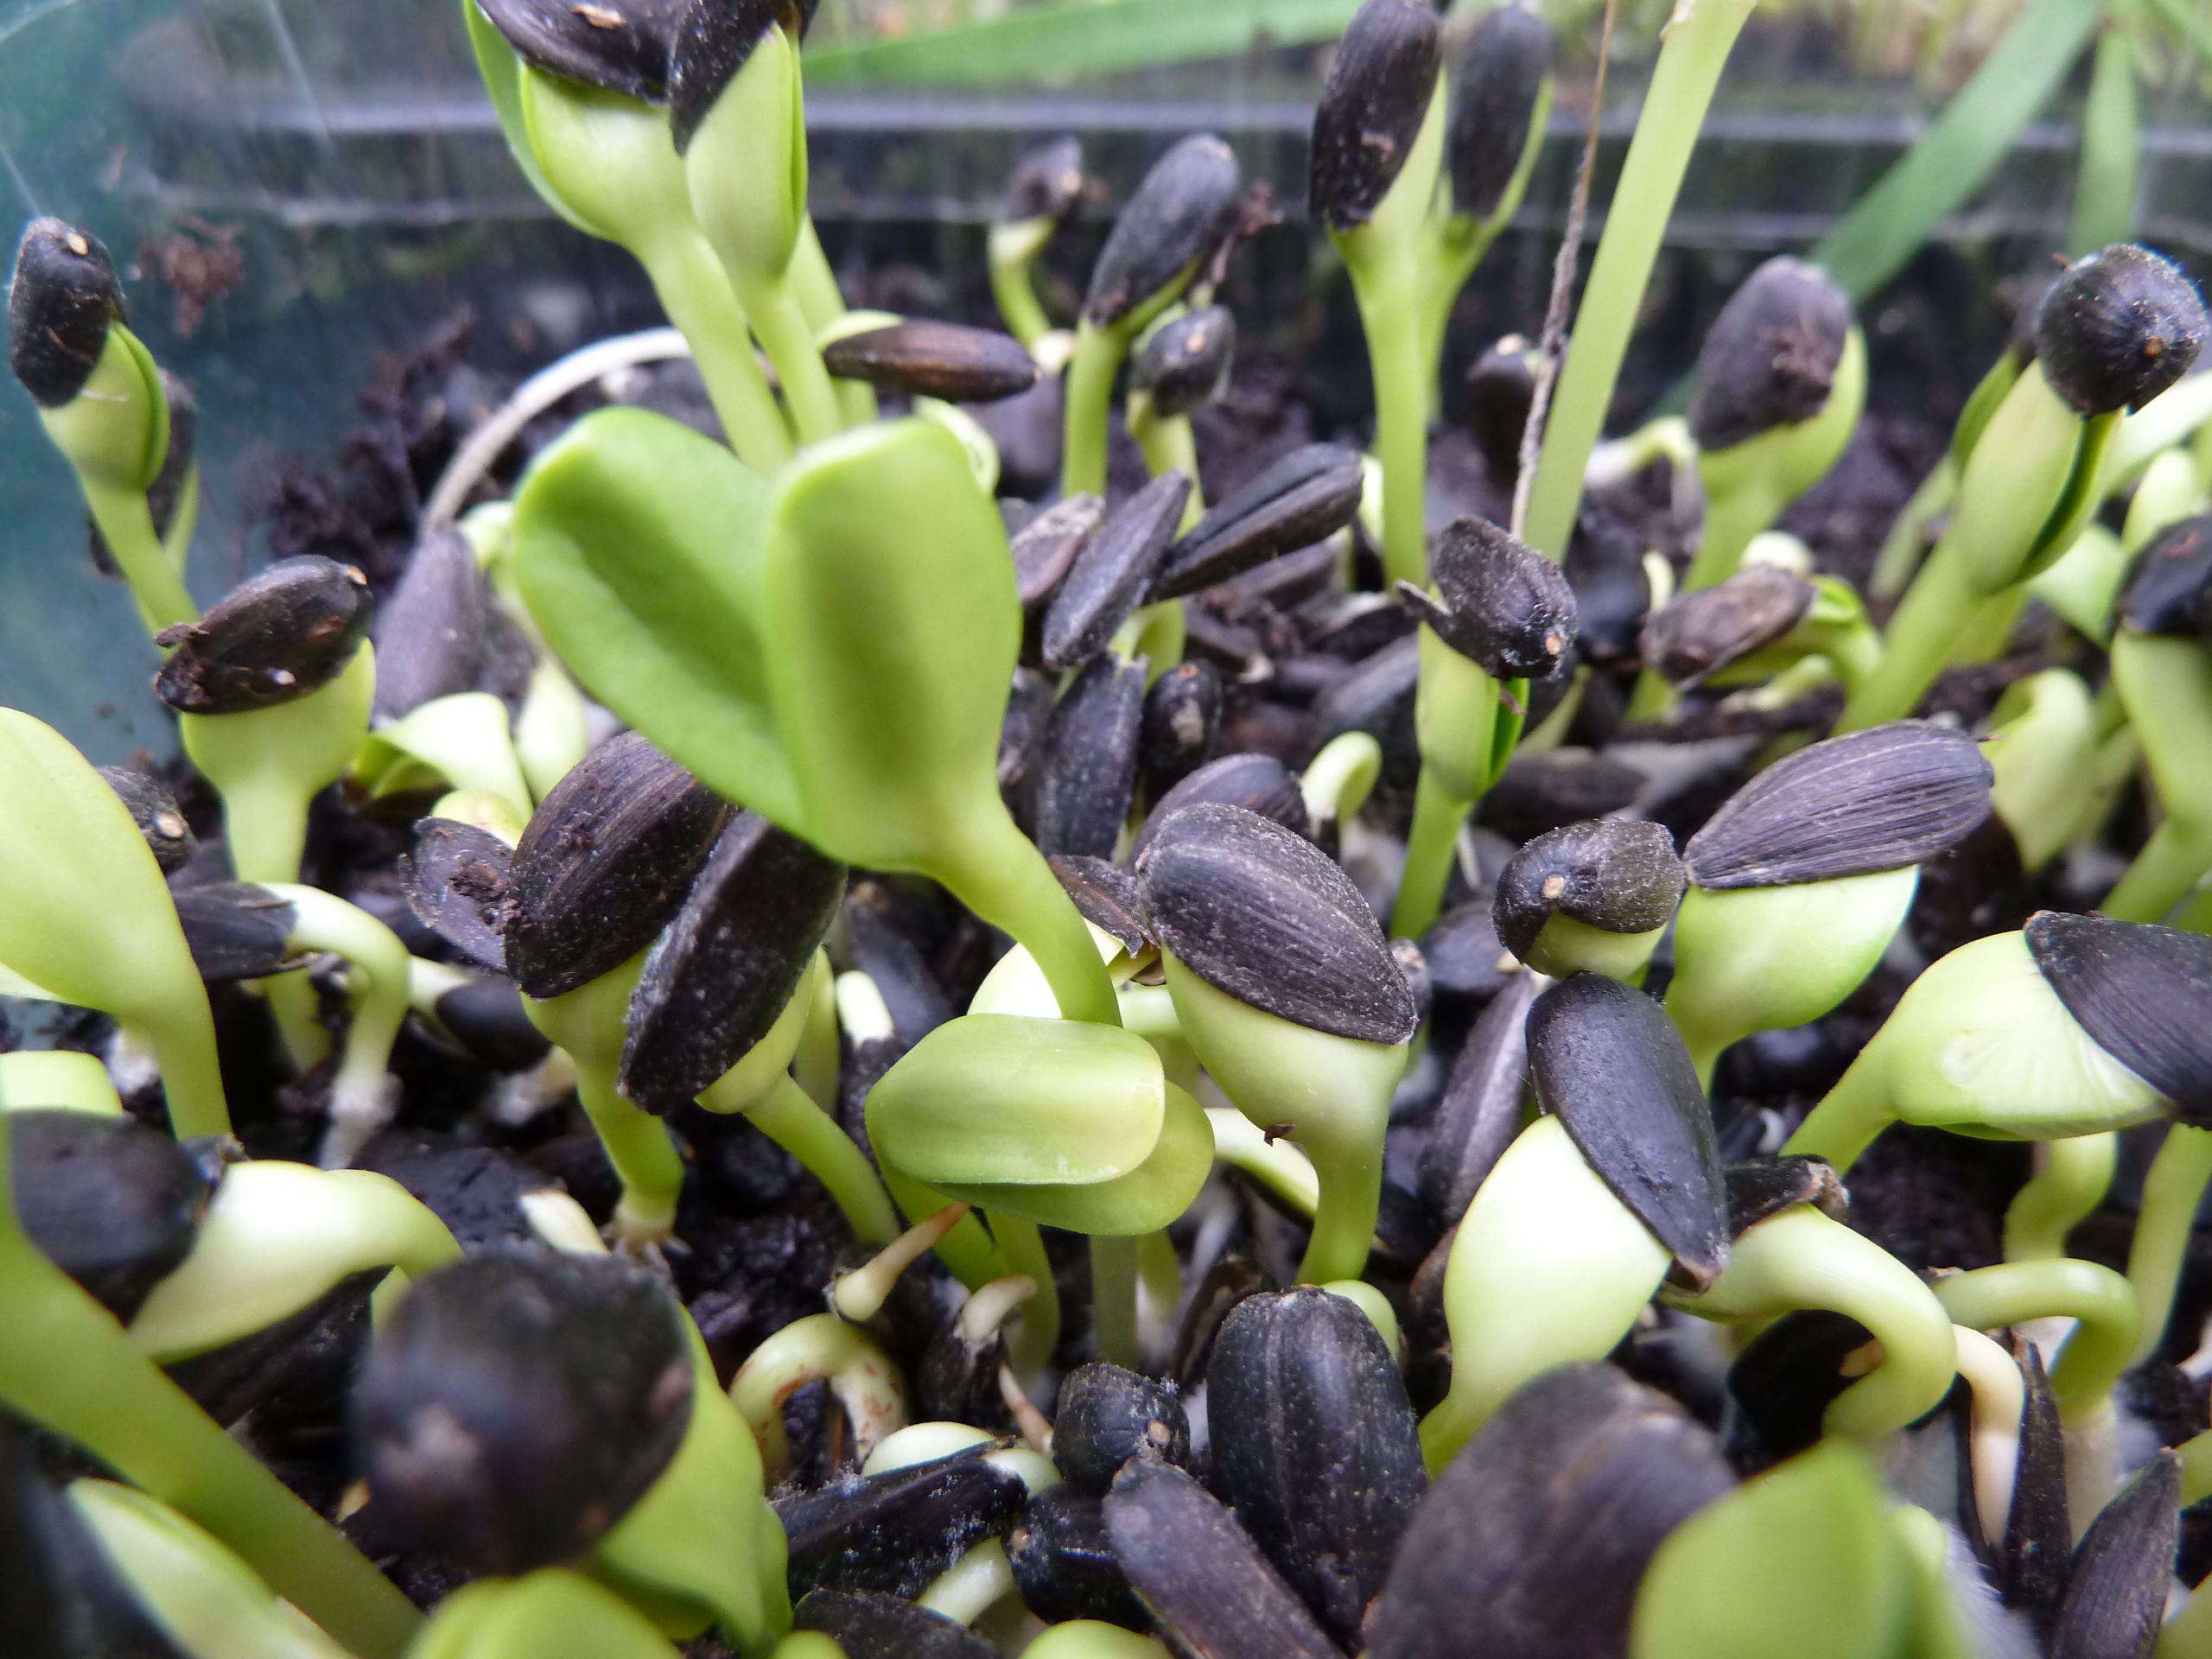
A few days later....
The same batch of sunflower greens ready to eat!
Sunflower greens ready to eat!


To sprout or not to sprout?

As promised here I am with sprouting and micro green lessons ;-)
I've already mentioned how good they are for you (and will add more on that in future posts) and think about it - they are the ultimate fast food! I tend to work on a Wednesday - Sunday schedule. By starting new sprouts off twice a week you'll always have some available.
There are many ways of growing them but what I want to do is encourage you to do it the easiest and cheapest way possible. Yes, I do have The Farm (my EasyGreen automatic sprouter which I LOVE - see link below) but I still use jars etc. I have a  sprouting jar which I find great for the bigger ones like mung sprouts - that's still my prefered way of growing them actually.
Sprouting jar
Sprouting jar

The main thing is with jars they must be able to drain thoroughly so if you're using a jam jar it will need angling at 45 degrees. I find the jar method not so good for smaller sprouts such as alfalfa and clover and pity useless for mucilaginous seeds like linseed and cress.
There are several other sprouting kits available but I want to help you do it with minimal outlay. (If you want to look at more sprouters click here; http://www.ukjuicers.com/sprouters-and-seeds  ) I have bought lots of stuff from this company and they're great! (My juicer also came from them but more on that another day :-) )
The secret to sprouting lies in the frequency of rinsing (depending on the seeds, this is normally 2-3 times a day. There are some seeds that need special attention and we'll cover those again). The other important thing is DO NOT overcrowd them in your jar. 1 tablespoon of mung beans may well look lost in your jar - but when they get going - they need that space. This is the biggest cause of failure! They will rot if they don't get good ventilation.
Best sprouts to grow?
For ease and to get you started stick with easy ones; radish, broccoli, black eyed beans, cabbage, chick peas, mung and adzuki beans (these both sprout in the same time frame so can be grown together as in the picture above) and peas. Lentils are delicious too - but please, save your breath, don't try and sprout the red ones - they're hulled and split and will not sprout, ever! I love the Puy lentils - they taste like fresh peas once sprouted! Alfalfa and clover are best done in a tray (I'll cover that tomorrow with micro-greens)
Ones to avoid are soya beans, kidney beans and I tend to avoid any of the bigger beans due to the fact some aren't safe to eat uncooked. The largest bean I sprout is the black eyed bean (delicious!) I would also suggest skipping the mucilaginous seeds too as they can quickly become a slimy, smelly mess when done in a jar. (If I grow cress etc I do so in soil).
The Chinese recommend if you have a weak constitution (?) you should lightly cook your sprouts first before eating. I never do unless I'm throwing them in a stir-fry or curry. If you end up with lots - great! Pop them in a bag and freeze them for adding to cooked dishes. They are still really good for you!
So you have your jar, a piece of muslin or similar (plus elastic band to hold it in place) for the top of the jar,  and you have your seeds/beans - what now?
Soak your seeds/beans overnight in water. Bear in mind this is the water they will swell with and start to sprout. Make sure it's good water! I use filtered. (Tap water is fine for rinsing). Lots of people use tap water per se so don't let it put you off - use what you've got and use it wisely. I use my rinse water for my houseplants as it does contain some nutrients that are now available to them. Try not to waste it  - water is one of our most precious commodities! (OK, I'm off my soapbox now :-) )
Next morning, drain and rinse. Fill and rinse several times, swishing them around. Drain again and leave at the angle of 45 degrees. Repeat 3 x a day until you have your sprouts!
Simples ;-)
Like I said - the ultimate fast food!
Get the kids involved - they love seeing where their food comes from and it teaches them about life. Sprouts are naturally sweet which is why kids go for them and if you pack some in a lunchbox - they'll stay fresh until they eat them.
Some tips;
Don't leave them in a sunny window - they'll fry - remember they're babies and are at a delicate stage of their development! If you want them to green up (some are better, some are not!) put them in a spot which receives bright but filtered light.
Don't worry about getting all the hulls out that come off them - they're fiber!
Buy organic. Don't use normal seeds from a garden centre etc (unless marked as sprouting seeds). Remember you are what you eat so you want the best. A decent sized bag of green peas for sprouting will last you ages! (Have a look here; http://www.skysprouts.co.uk/ )
Wheat sprouts (top) & green peas (bottom)
 Tomorrow, we'll look at microgreens - this post was longer than I expected!!


The Simple Green Kitchen has it's public launch!

Well, The Simple Green Kitchen has it's public launch on Friday July 25th at Prestatyn Flower Show. I will be there giving a talk on 'Cultivating Herbs in Small Spaces'. I will have herbs with me - especially some of the more unusual ones; after all everyone's seen parsley already!  I am also the herb judge for the show.If you want to pop along, I'm on at 2.30pm after the Mayor opens the show. I believe they are offering refreshments and the talk is free to join. I think the organiser, Ann Williams, needs to know so if you'd like to be there - she can be contacted via Bonne Amie on Prestatyn High Street.
It should be good folks! Come along and join in!

Chalice Well Gardens 3

Friday, 9 May 2014

Sprouts and Microgreens

My favourite pastime! I love growing sprouts and micros - let's face it you can't get anything fresher anywhere. You don't even need a garden.

My favourites include;

Beetroot, carrot micros, fenugreek (which has 3 different flavours depending on what stage you use it), alfalfa, clover, red cabbage, sunflower greens, lettuce, spinach, wheat, broccoli (so very good for you!), basil (eat it at any stage and it's yummy!), mung and adzuki beans. 
In fact, there aren't any I don't like!

They are packed with high quality protein which is far more accessible to the human body than the protein derived from flesh products. Did you know that the cells of chlorophyll are only one component different from haemoglobin? Green plant cells have magnesium ion at their nucleus and haemoglobin has iron. They are still not quite sure how it happens but it seems somehow the body can convert or swap the magnesium ion for iron and it creates new haemoglobin cells..........amazing, or what?

Sprouts and micros are also packed with nutrients and vitamins. And the big plus is you can grow them in the kitchen, pick them fresh and gruesome though this may sound - eat them whilst they are still alive!
Beans like mung are lovely to just snack on as they are. Liven up any salad and impress your guests by sprinkling some bright coloured micros on your main course just before you serve. All the top chefs and restaurants do that these days. Here's a few photos to whet your appetite (ha! No pun intended :-) )
Baby basil plants (with lettuce behind)
Beetroot micros
Beetroot micros
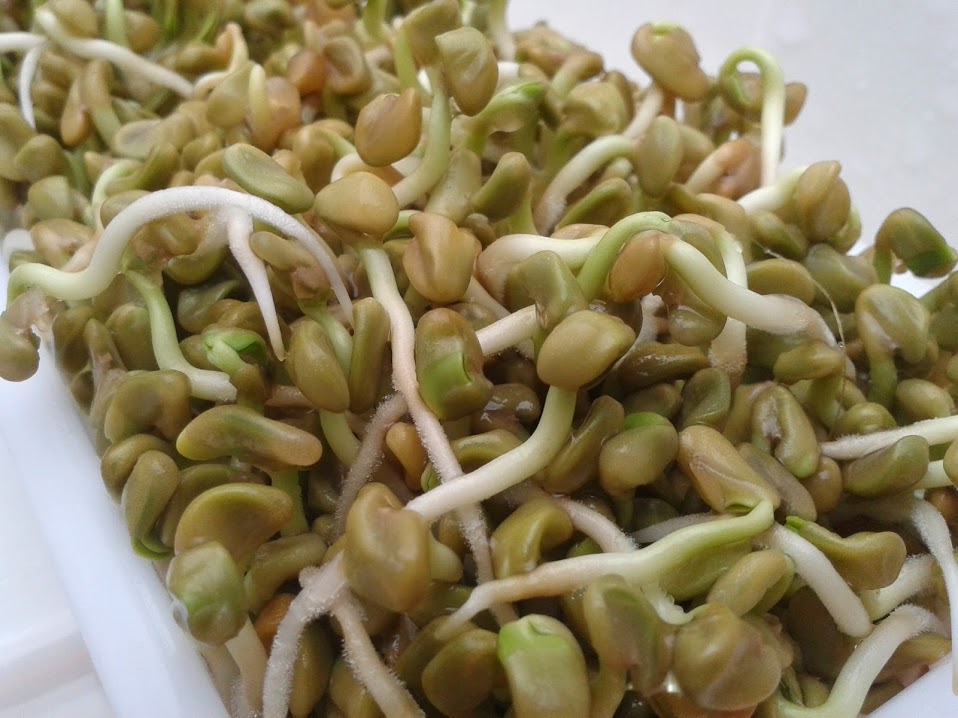
Fenugreek
Fenugreek
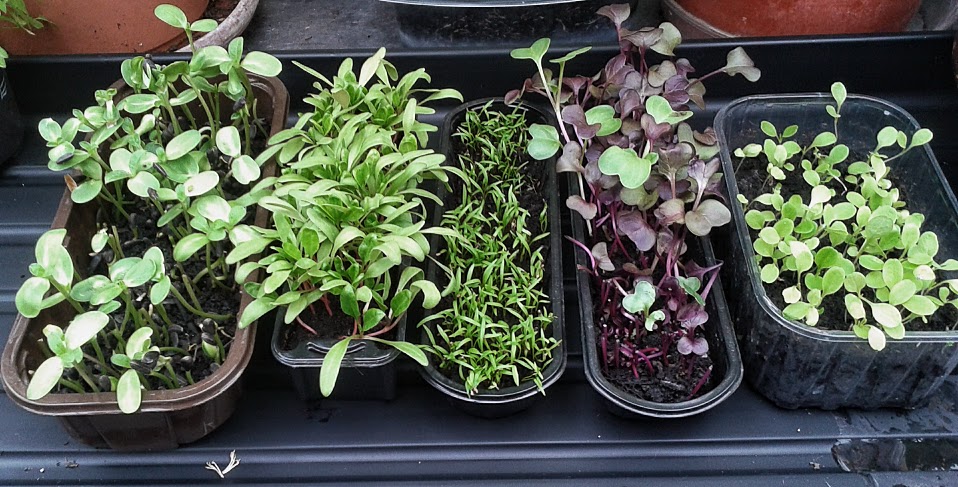
Microgreens
Left to right; sunflowers greens, spinach, carrot, Rambo radish and lettuce
P1050833
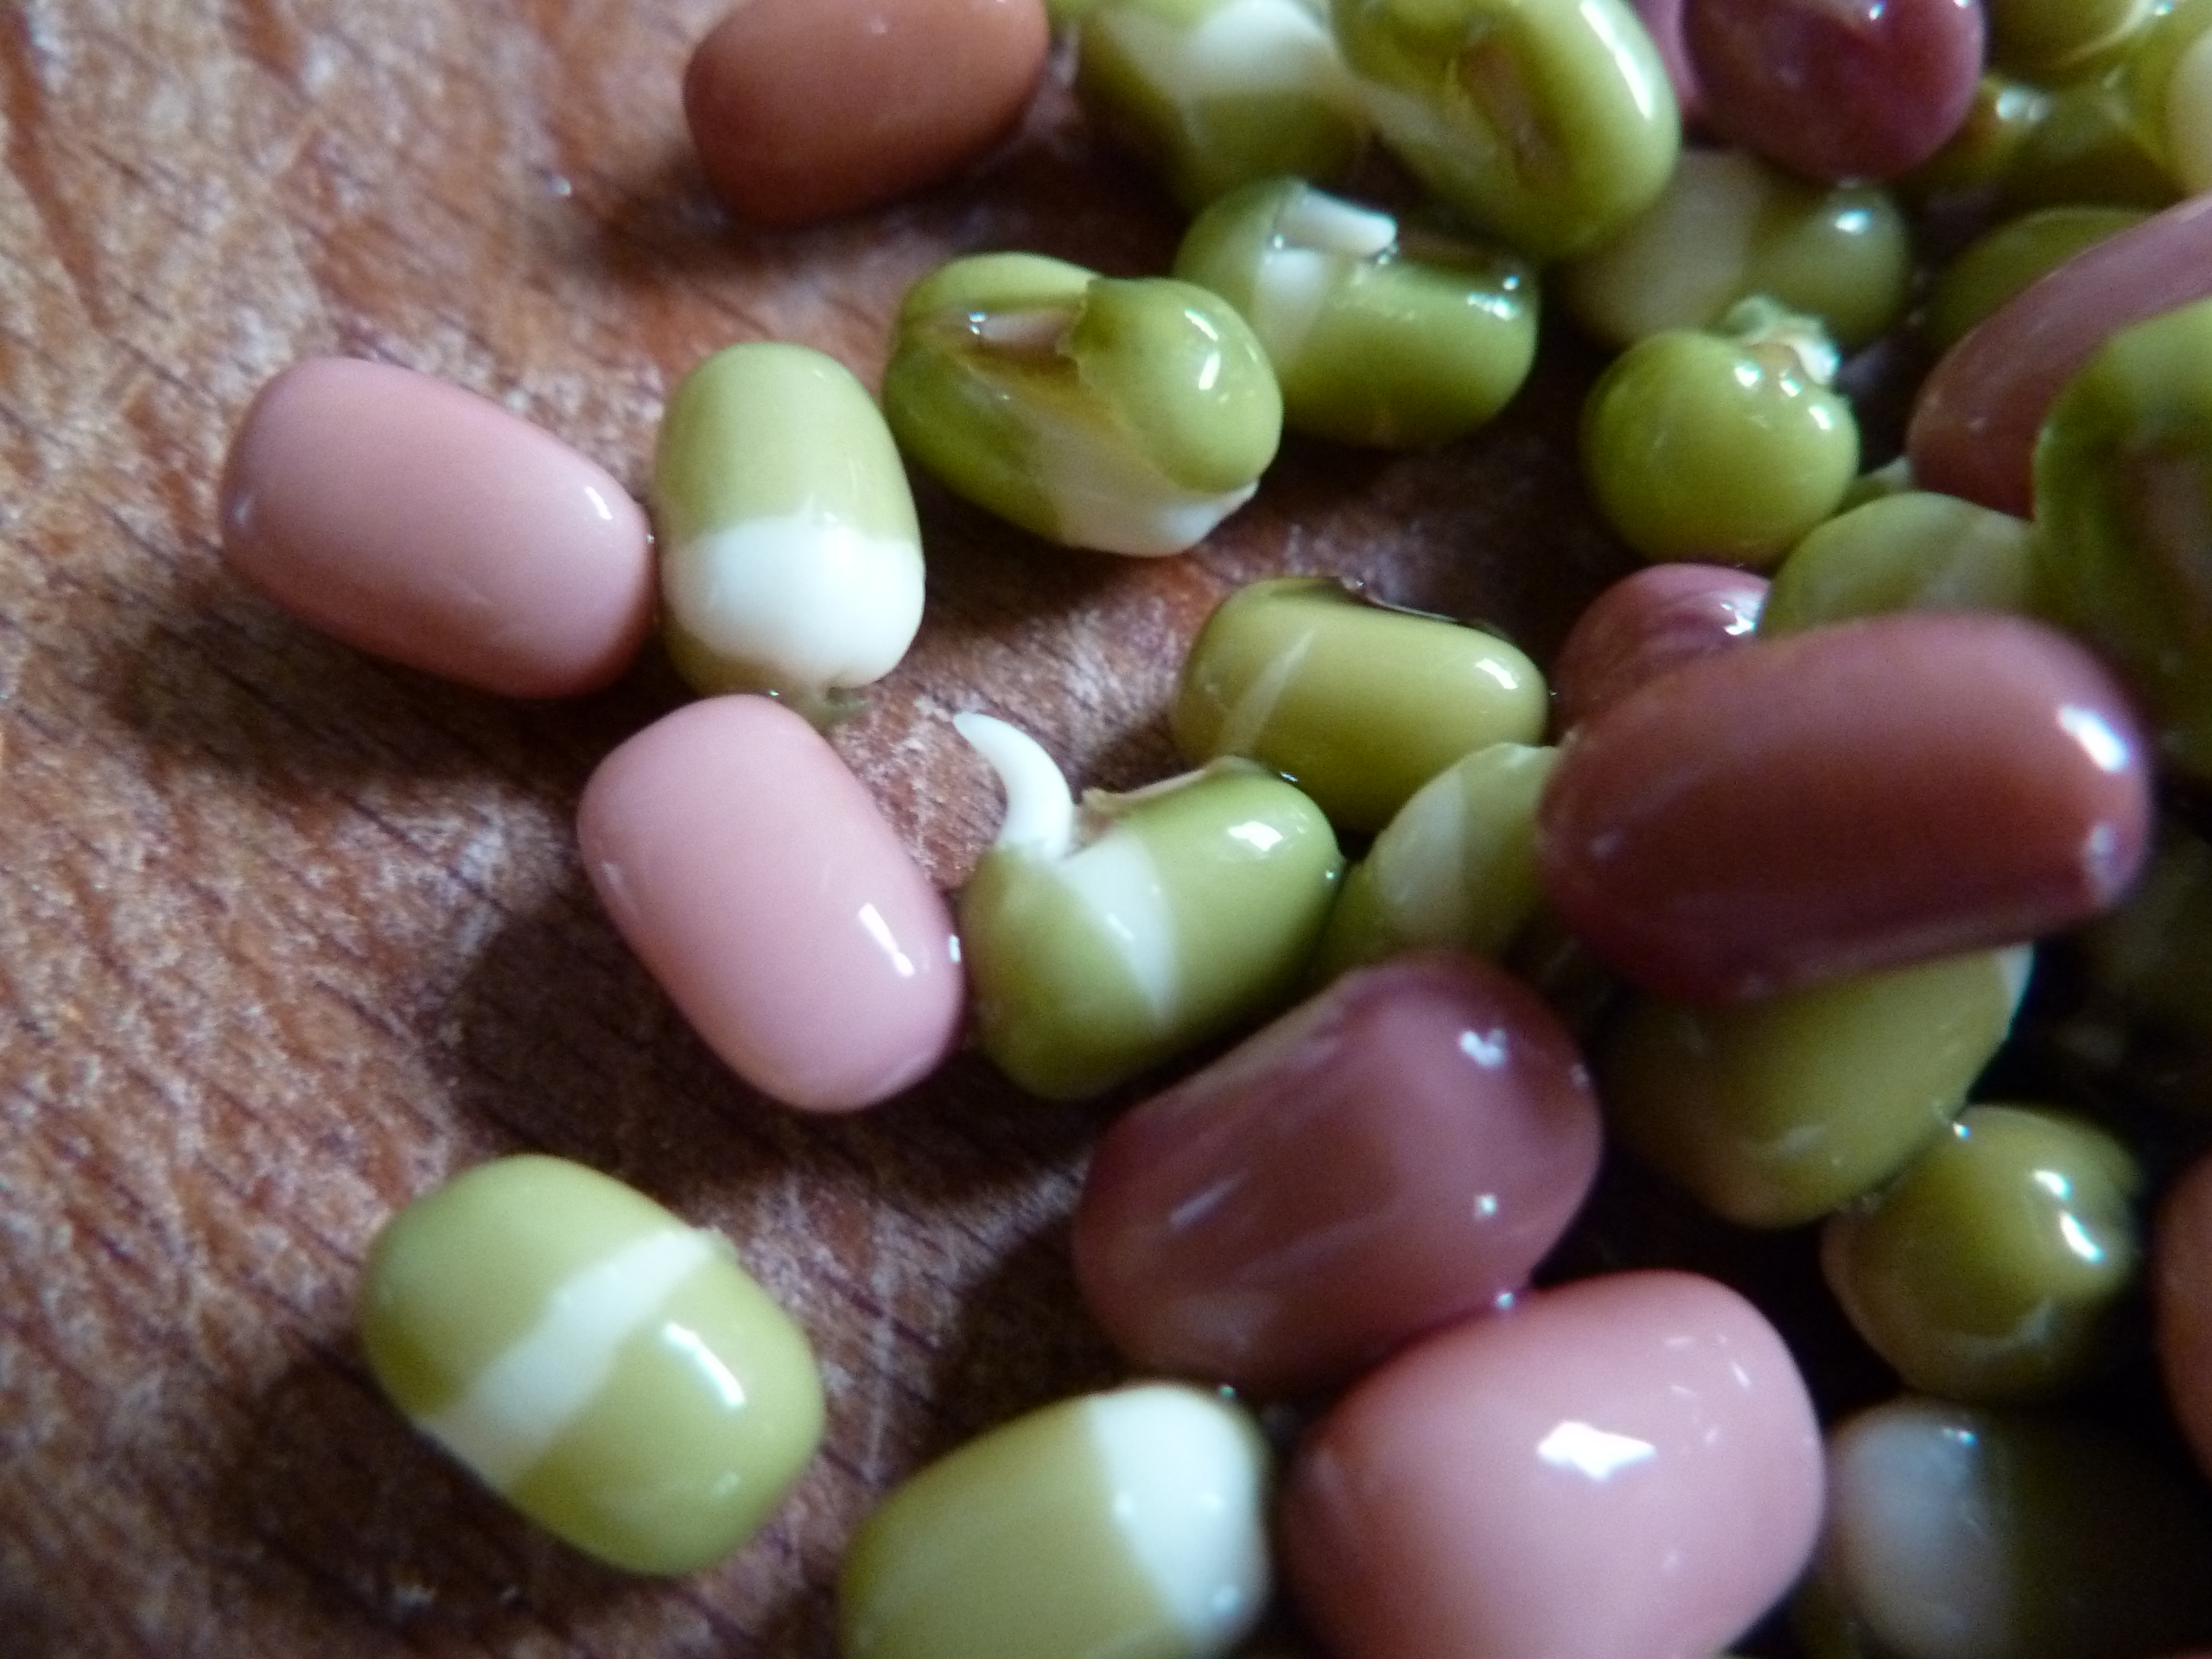
Mung and Adzuki beans - do let them sprout further than this
P1050855
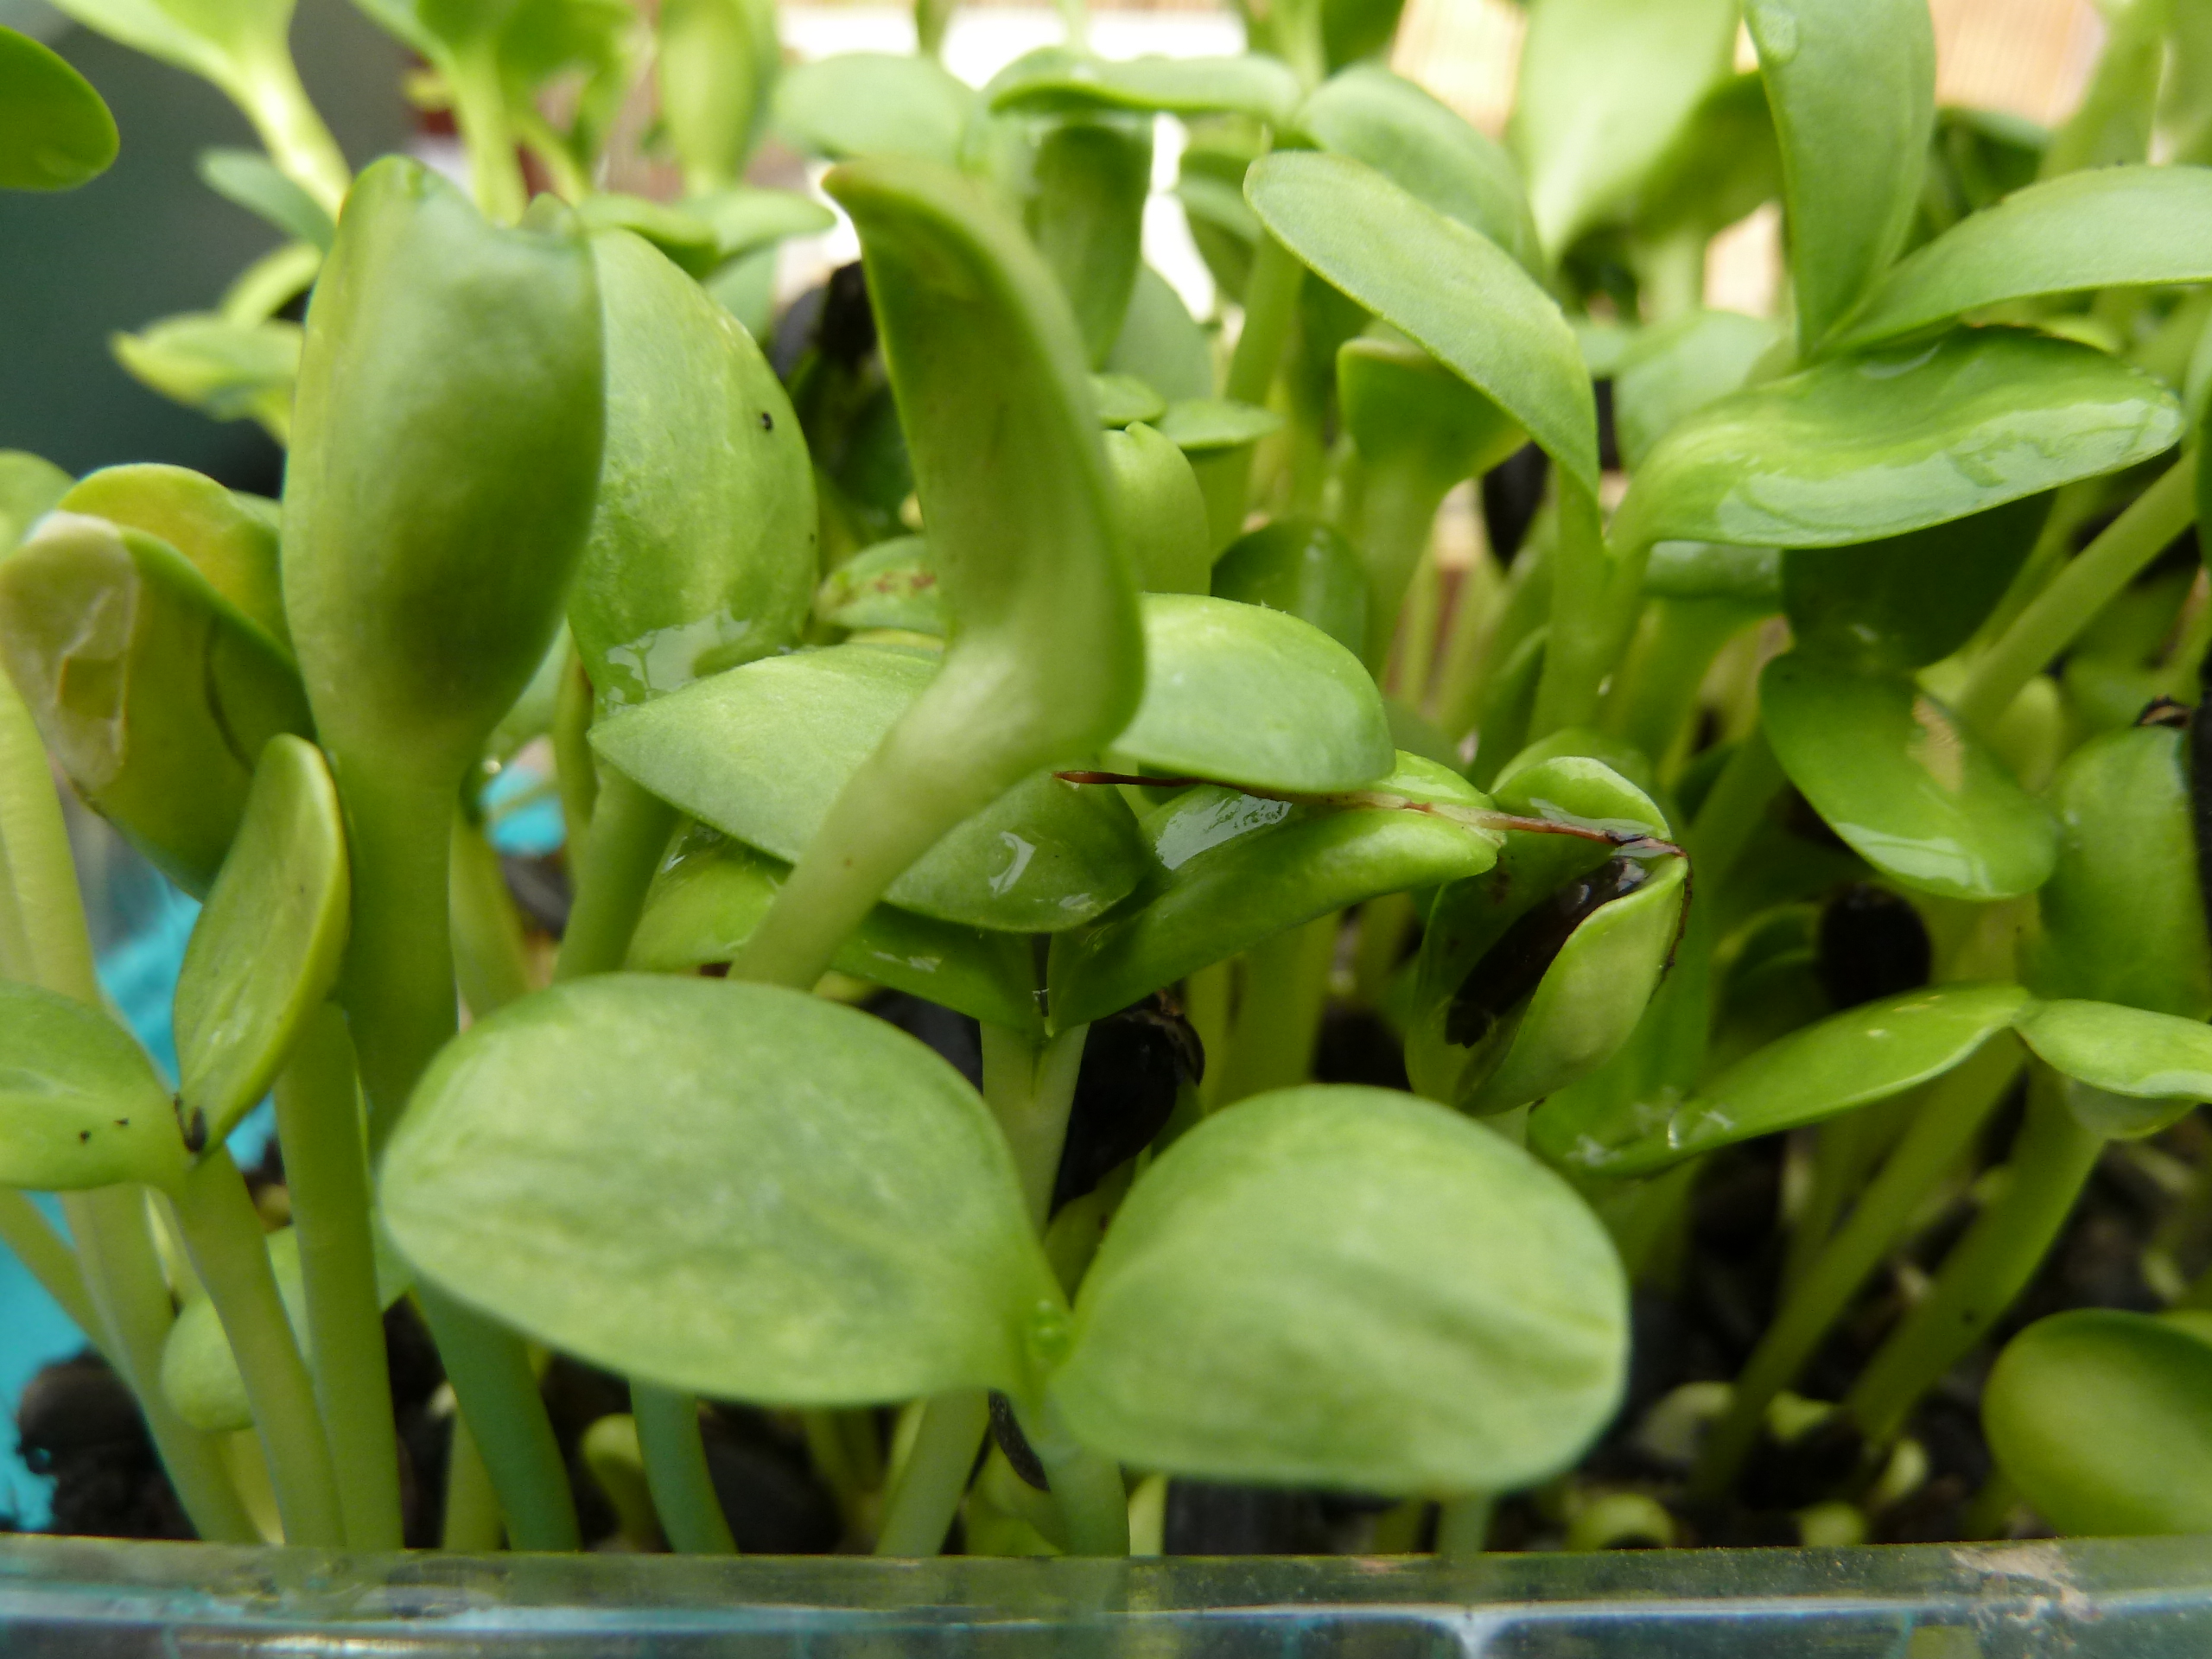
Top one for me - sunflower greens
P1060322
assorted sprouts in my EasyGreen sprouter. Affectionately known as The Farm!
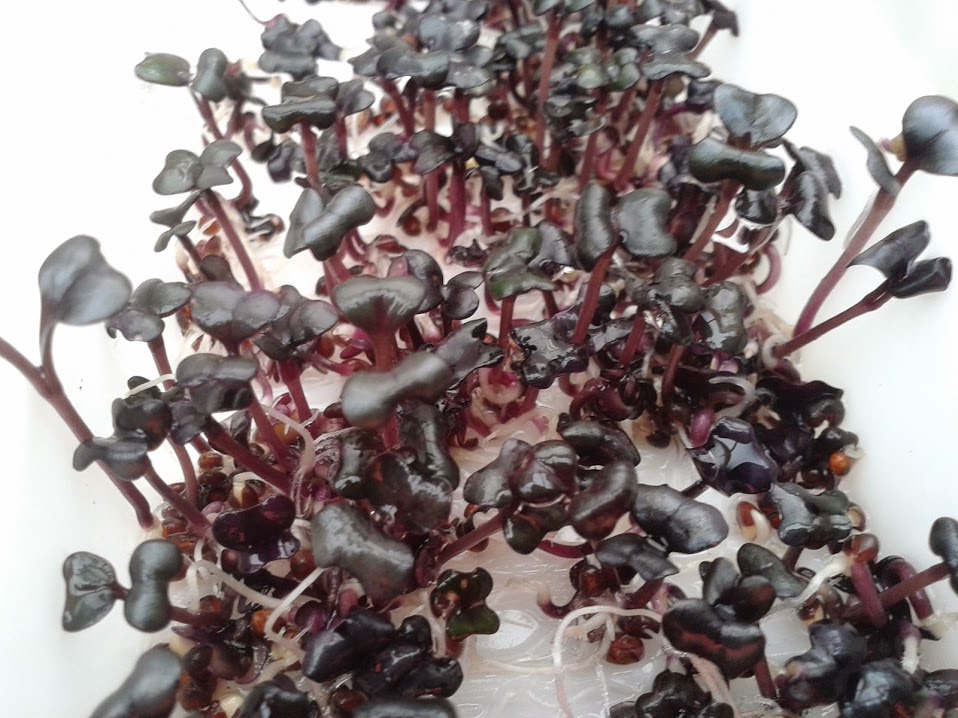
Red cabbage microgreens
Red cabbage sprouts

Saturday, 19 October 2013

The Miracle of Avocados..........

A very dear friend of mine called round Friday morning and amazed me with the following information. Now this is someone I've known for a long time and for the purpose of this post I will call her Joan.

I know Joan has been plagued for over 18 months with trouble with the skin on her legs........She'd been backwards and forwards to the doctors all this time with her skin driving her mad. It was itchy, sore and very hot and uncomfortable. I've spoken to her many a time and she'd been in tears, being driven to distraction. She'd had all sorts of antibiotics, skin creams and goodness knows what but nothing improved it. No-one ever actually gave 'it' a name for a long time...........

She developed a lesion on her leg which became a large open wound that wouldn't heal. With similar happening on her other leg (the other leg had an enormous lump too). So yet again she trundled off to the doctors who offered her yet more anti-biotics. She declined and accepted she was going to have to learn to live with it. She'd been told the hole was her leg being eaten from the inside out by 'a bug'. Not nice!

A few weeks ago, her sister happened to ask her if she'd pick her up a couple of avocados whilst she was out shopping. They were something Joan wasn't keen on but her sister tempted her to try them again and to her surprise, she found this time round she liked them so knowing they are really good for you, Joan started buying them for herself and having one a day.

A week later, she noticed her leg had all but stopped itching..........

Three weeks later - her legs were almost back to normal!!

Joan had done nothing different at all, except eat an avocado every day! And here is the proof - after 18 miserable months Joan is finally free from her distress and you can even see the 'dint' on this leg where the flesh had been eaten.........
Joan's leg, including the hollow from the flesh-eating bug!


Now I recount this story not to encourage you to throw all your meds in the bin! I am NOT a doctor - I'm just someone that believes we can all lead healthier lives if we watch the fuel we take into our bodies. But this certainly highlights for me - food plays a huge part in who and what we are.......and who and what we can be......

Thank you for sharing this Joan (and for letting me photograph your leg!) I'm absolutely delighted you're free of your plight after all this time xx

Now there's food for thought!

(NB. The information given is purely for interest only - if you suffer from some malady - please do see your doctor).

Friday, 18 October 2013

NUTS!!

Hazelnuts and almonds; soaked overnight.

Well, I said we'd go nuts today and here we are! Most people love nuts of one form or another (except, of course, those who are allergic to them). My personal favourites are almond and walnuts.

I have found the best way to eat them though is to soak them. Technically, this is classed as sprouting only they don't sprout - they swell but still undergo the same metabolic transformation as a 'sprout'. Their vitamins increase and they become much, much more digestible. Have you ever noticed with nuts that you sometimes find your mouth 'tightening' inside (like when you eat cooked spinach or rhubarb?)  That's the tannins in them. Soaking/sprouting them overnight removes most of them and they taste really wonderful and creamy. If you don't believe me, try it - I surprised a friend of mine this morning with soaked almonds.

Almonds can be blended and made into a delicious nut milk and are rich in calcium too. Their protein is also of the alkaline type which is better for our bodies. One of my favourite ways of using them is to convert the 'milk' into almond yoghurt using 'rejuvelac' (and what, I hear you ask is that?)............well, we'll come to that in a short while - if you can't wait - Google it. Be warned though - some sources advocate fermenting the wheat berries for a longer period - don't do it! I tried leaving it longer it once and when I opened the fridge I was overwhelmed by the prevailing smell of cow dung! A gas mask wouldn't have gone amiss either! (I didn't even have the heart to pour it on the compost heap - I was so concerned for the worms.....) Yuk! I won't do that one again in a hurry :-) Incidentally, almond yoghurt is fantastic in curries...........

We'll talk more nuts soon but when I'm back next I have a really astonishing tale about the miracle of avocados - seriously, if I hadn't known the person who told me this - I wouldn't have believed it myself. But I even have a photo of her leg to prove it (oh, boy - I can really hear your brain cells going into overdrive now................)

Have a good weekend - and get sprouting!!

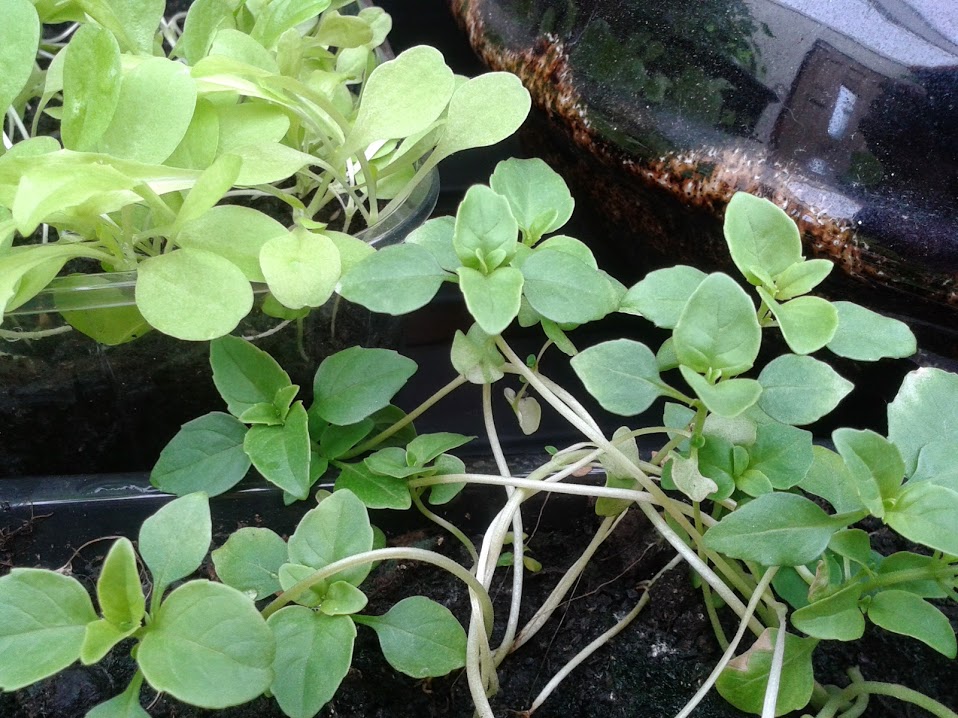
A single renegade nasturtium makes a take-over bid for the garden...